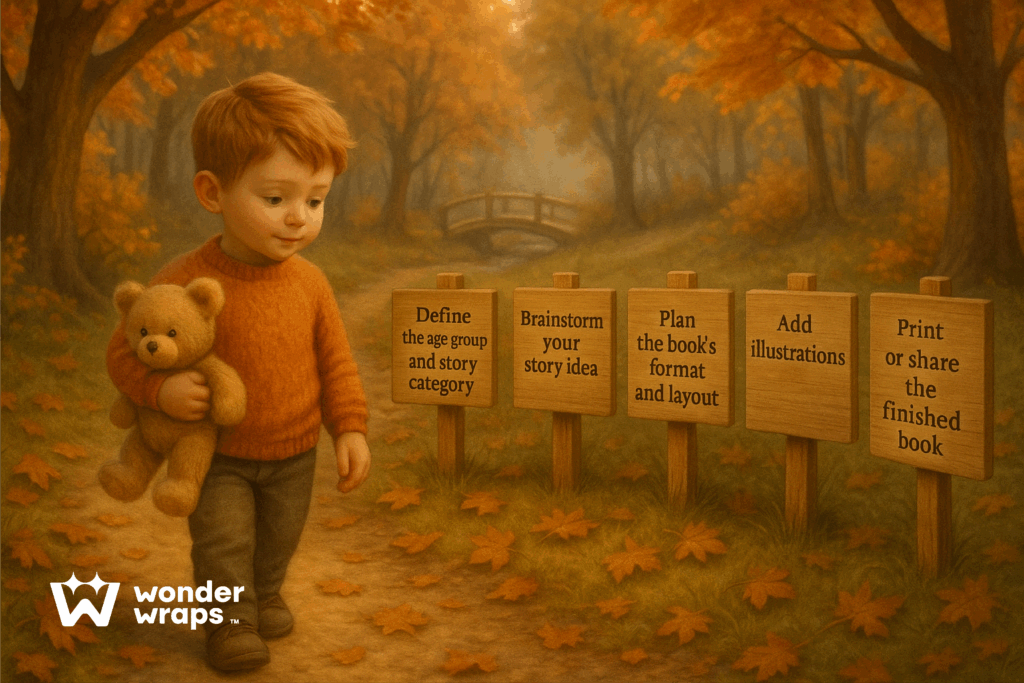
- Creating a children’s book involves selecting the target age group, developing a story, planning the layout, incorporating illustrations, carefully editing the text, and then printing or sharing the finished book.
- Personalization in books adds emotional value and makes the book more memorable for the child.
- With WonderWraps, it’s easy to turn your idea into a high-quality book made just for your child.
Reading can change everything—and for children, it helps shape who they become. It encourages creativity, builds empathy, reduces stress, and supports their development, including cognitive function, mental health, and brain structure.
But it’s not just about whether kids read, but what they read. The stories they’re exposed to, the characters they follow, and the language they absorb all influence how they see themselves and the world around them. That’s why, for those interested in taking up this task, actually researching and learning how to make a kids’ book is a responsibility.
How to Make a Kids’ Book
Aaron Shepard, the award-winning author known for his retellings of folktales and world classics, doesn’t sugarcoat the truth about writing for children. In “The Business of Writing for Children”, he addresses the standard misconception that children’s books are easier to write than adult books head-on and claims:
“Good writing is difficult no matter what the reader’s age—and children deserve the best.”
And they do. Children deserve stories that spark wonder while also helping them make sense of the world. That’s why personalizing a book for children can make it even more powerful. A name they recognize or a challenge they’re quietly working through—it’s these details that can give the book lasting value. But to achieve that kind of value, you need to understand how to make a book for kids and commit to doing the work.
Define your book’s age group and category
When people talk about “children’s books,” they often treat it as a niche category. However, in reality, it’s a broad term that encompasses many subcategories, as varied as the kids who read them. From learning books that introduce shapes and numbers to whimsical fairy tales, gentle bedtime stories, laugh-out-loud adventures, and early readers that build confidence, each type of book caters to a specific stage in a child’s development.
That’s why the very first step in making kids’ books is to define the age group and category they belong to. A story that delights a two-year-old might leave a seven-year-old bored, while something meant for independent readers might be too complex for toddlers. Tailoring your book to the child’s age isn’t just about word count or vocabulary but also about matching the structure and even emotional themes to where they are in their development stage.
Start by thinking about the child for whom you’re creating the book. How old are they? What kind of stories keep their attention? Do they enjoy a nightly story before bed, or do they like flipping through books on their own? Identifying their interests and routines gives you clues about the kind of book that will feel personal and engaging to them.
It’s also helpful to consider their reading or comprehension level. If they’re just starting to speak, a board book with simple concepts and repetition might be best. For a preschooler, a picture book with short, rhythmic sentences and strong visuals can work wonders. Older kids may prefer early readers with easy-to-follow chapters or imaginative plots they can grow into.
Choosing the correct category based on the child’s age, abilities, and personality is what will truly make it feel like their book.
Brainstorm the story idea
Like any book, yours will also require a story. You don’t need to write a novel, but you do need an idea. Something with heart, with meaning. Something that speaks to a child’s world.
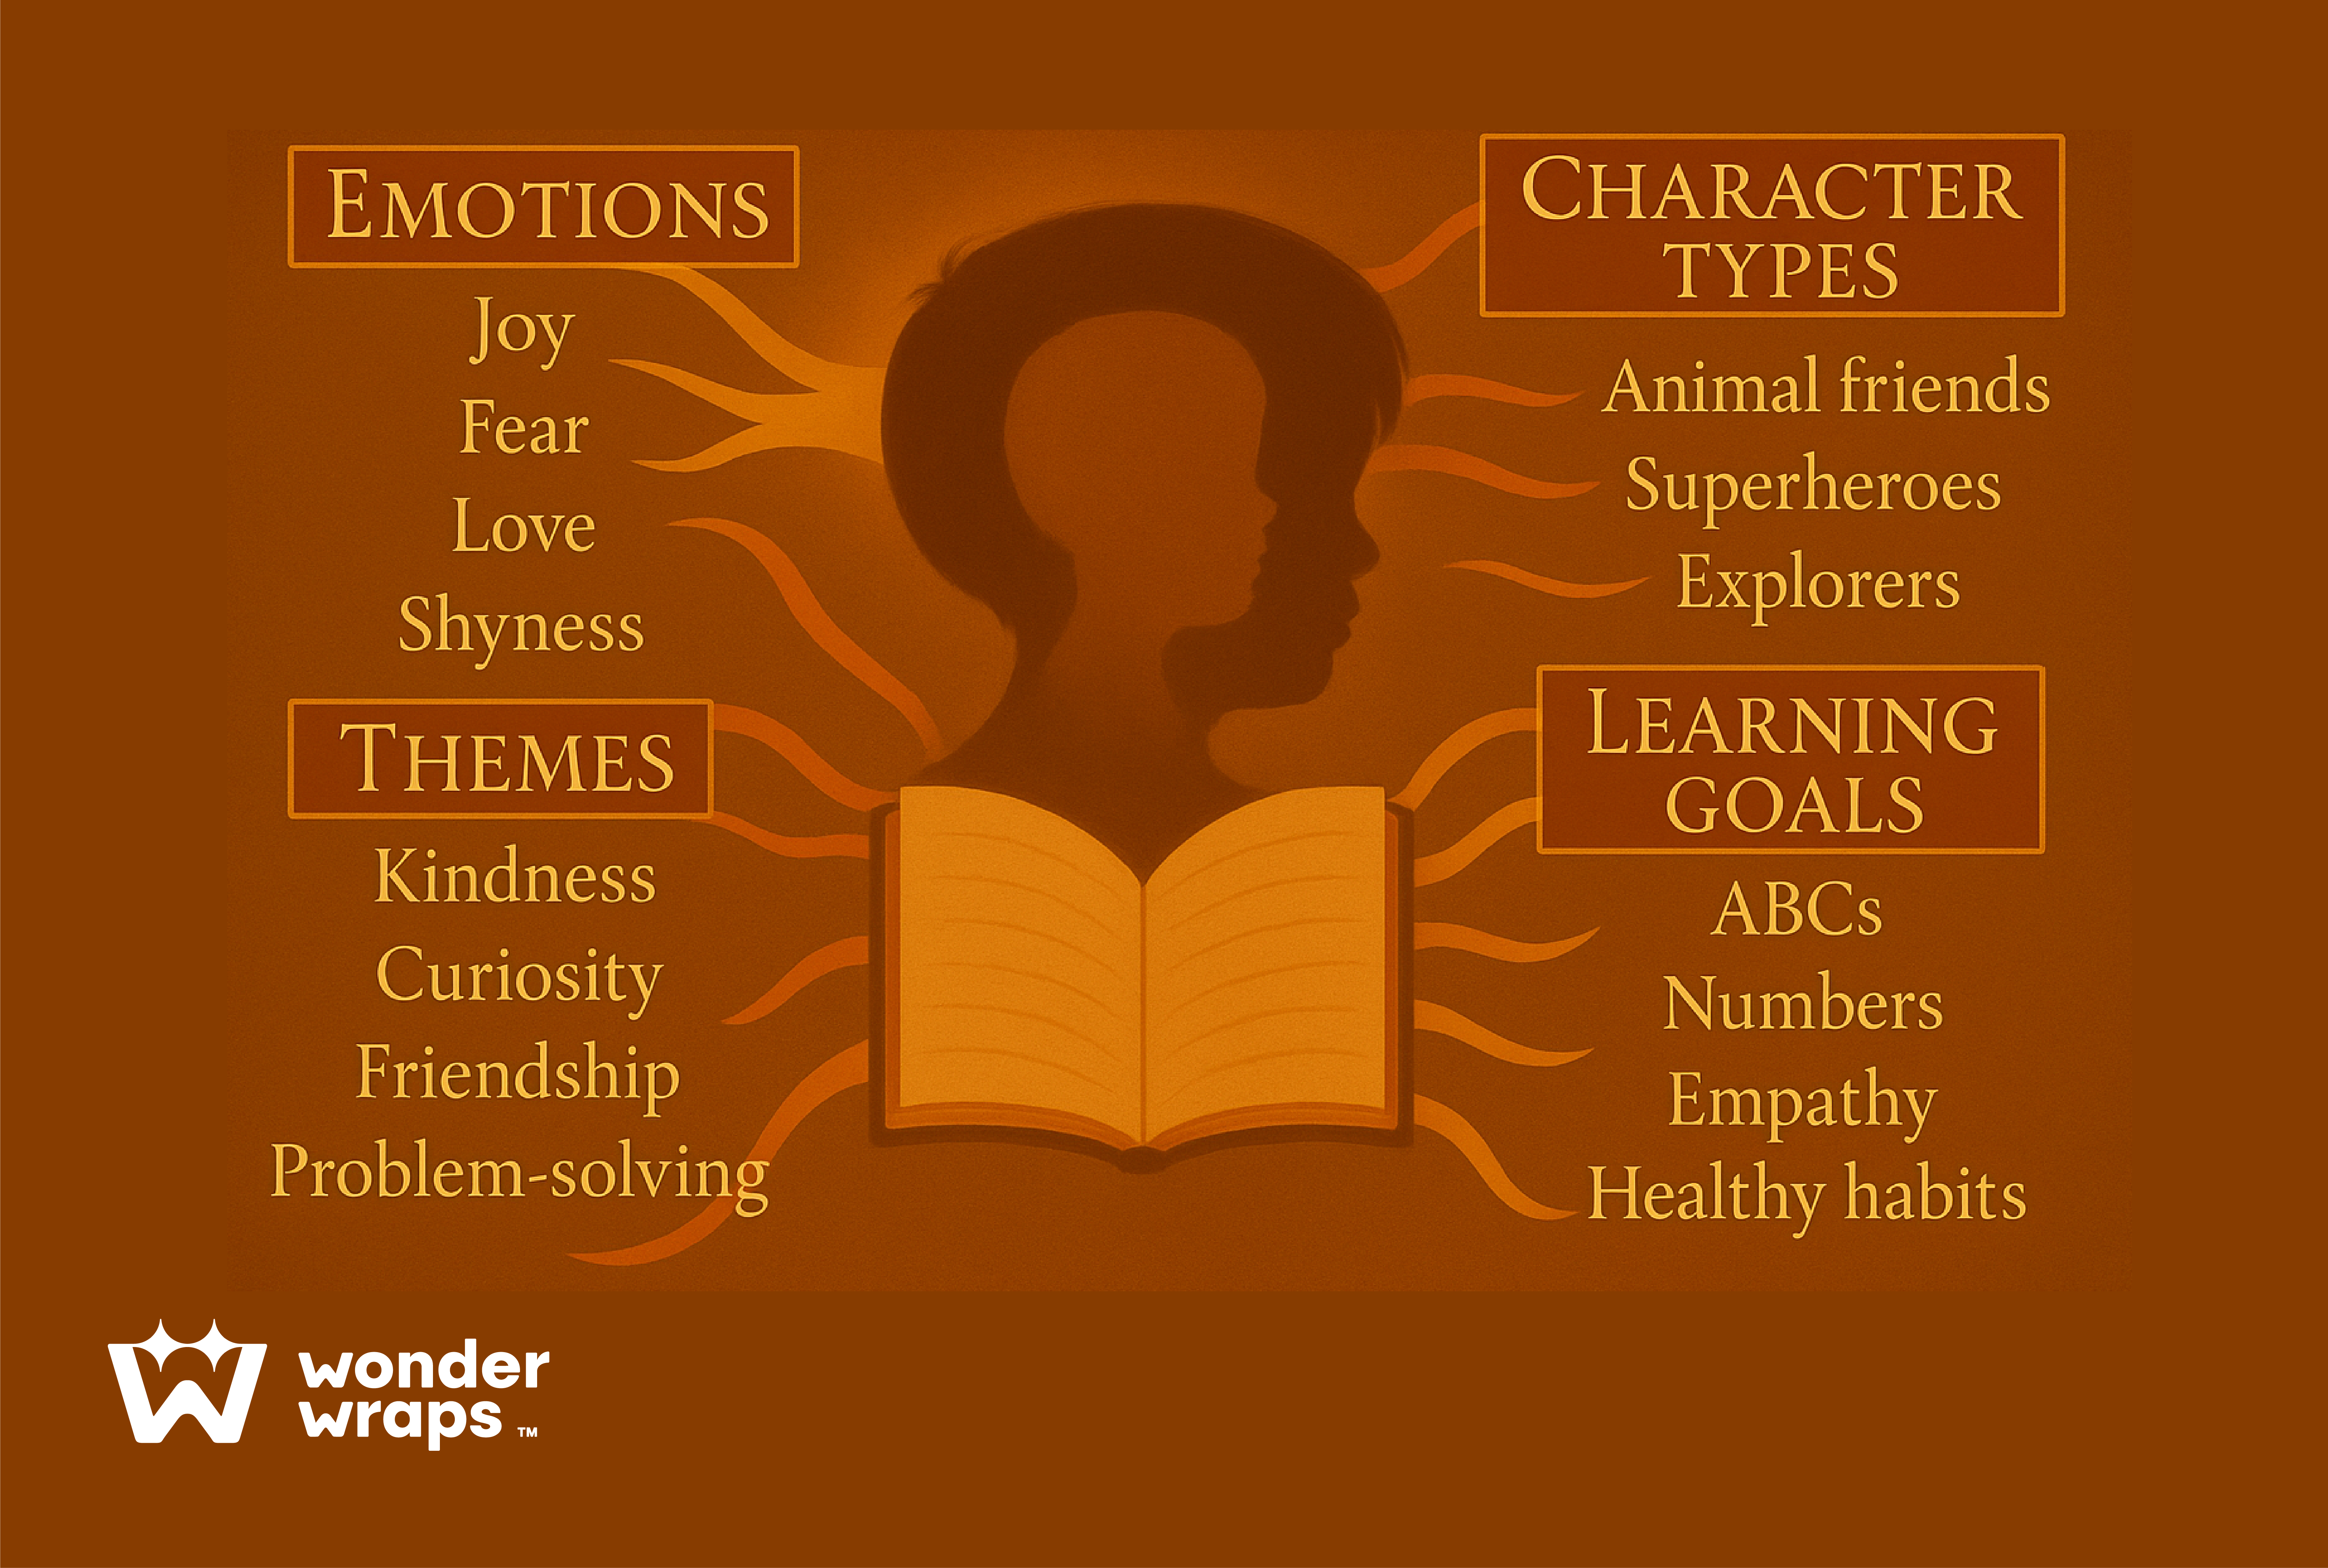
For children’s books, especially personalized ones, the best stories often revolve around themes like kindness, curiosity, courage, friendship, sharing, learning to handle emotions, or overcoming small challenges. These themes are easy for kids to understand but meaningful enough to stick with them.
If you’re not sure where to start, try using a mind map to explore ideas that connect to your child’s interests, personality, or everyday life. Pay attention to what excites or challenges them.
You can also look at story ideas already available through platforms like WonderWraps, where a wide range of personalized books let you tailor the experience for your child. Titles like “The ABC Journey,” “The Boy Who Could Talk to Animals,” or “The Colors of Kid’s Heart” provide a solid story structure that can be personalized with your child’s name, age, and even preferences.
Decide on format and layout
In children’s books, visuals are often as important as the words. The format and layout you choose will influence how the story flows, and naturally, how your child experiences each page.
Most children’s picture books follow a standard 32-page layout, which typically includes the title page, copyright page, story pages, and a final closing page. But it’s important that throughout it all, you are careful with pagination as it determines the book’s pacing. You want each turn of the page to create anticipation, surprise, or resolution.
You’ll also want to consider how text and illustrations are arranged. The text should be placed where it’s easy to read and should always support the scene, not compete with it. Font choice is important, too: it should be clear, readable, and appropriate for your child’s age group.
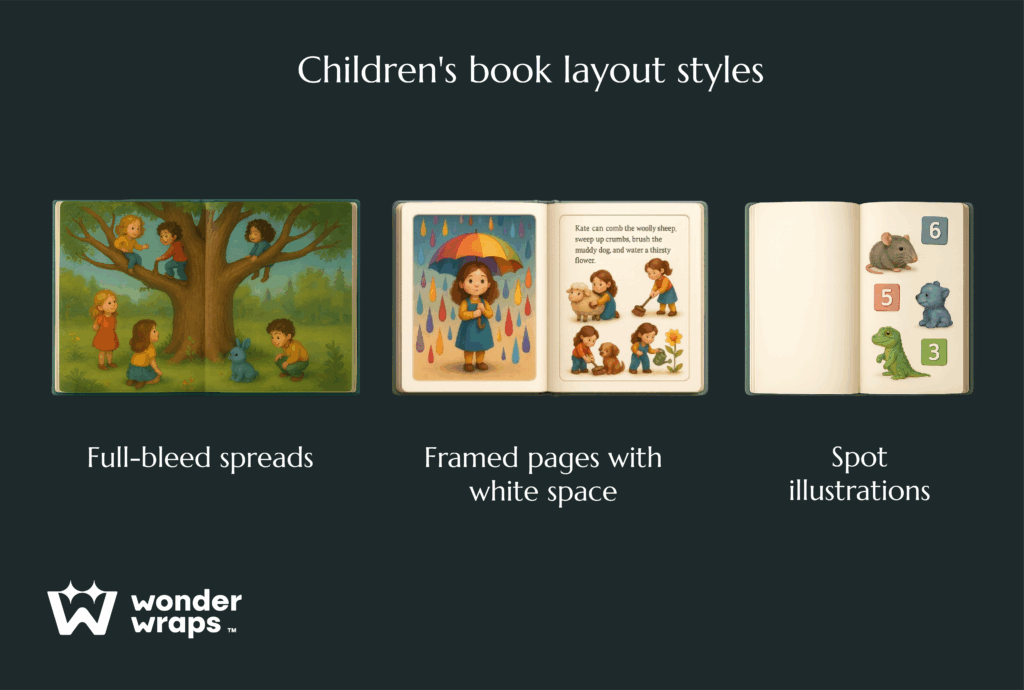
Depending on the style of your story, you can choose between:
- Full-bleed spreads (illustrations that go edge to edge),
- Framed pages with white space,
- Or spot illustrations.
If you’re creating a personalized book, the layout is even more important as, on top of everything, the child’s name and personal details infused in the story should be particularly easy to find and feel like a natural part of the design. WonderWraps books do this beautifully, placing personalized details into the layout in a way that makes each one feel intentional without breaking the story flow.
Illustrate the book

In children’s books, illustrations are often one of the key parts of the story, especially for younger readers. Long before kids can read words, they rely on pictures as they follow facial expressions, notice colors, and understand action through visual cues.
So, when it comes to bringing your story to life visually, you have a few options:
- Self-illustrate if you have the skills and want full creative control.
- Hire an illustrator to match your vision with professional polish.
- Utilize royalty-free images from stock sites for a quick and budget-friendly solution.
- Personalize through WonderWraps, which offers beautifully illustrated stories you can customize with your child’s name and details—no drawing required.
Edit, review, and get feedback
Once your story and illustrations are in place, it’s time to refine. The editing is all about fixing grammar, and the story flows so that everything reads naturally. You want to avoid confusing, too long, and awkward phrasing.
To help you polish your book, keep in mind the following tips:
- Read the story aloud to check rhythm, flow, and whether it sounds natural for a child.
- Ask the child you’re writing for to listen or read along and watch their reactions. Do they laugh, lose interest, or ask questions?
- Share the book with another adult, ideally someone familiar with children’s books, for a second opinion.
- Use a checklist to catch grammar issues, unclear phrasing, or anything not age-appropriate.
- Check for consistency in character names, tone, and visual details throughout.
- Ensure the language aligns with the target age group, avoiding words or sentence structures that are too advanced.
- Review the pacing, ensuring each page turn adds something new or moves the story forward.
- Double-check the layout to ensure text and images aren’t crowded or misaligned, especially if you plan to print.
Publish or print the book
Once everything is in place in terms of the book content and structure itself, you’re ready to bring it to life and share it.
You have a few options when it comes to this step. You can:
- Self-publish through online platforms.
- Export it as a PDF for personal sharing or as part of a learning resource.
- Print physical copies to give as gifts.
- Include it in student exhibitions or school events.
If you’re interested in publishing professionally, you’ll need to look into acquiring an ISBN (International Standard Book Number), setting up distribution channels, and considering the cost of printing and marketing. These steps do add complexity, but they also help you reach a wider audience and present your work with credibility.
Even if your goal is simply to share the story with family or a few special kids, consider printing multiple copies so you have extras to share with others or pass down.
Common Mistakes to Avoid When Making a Kids’ Book
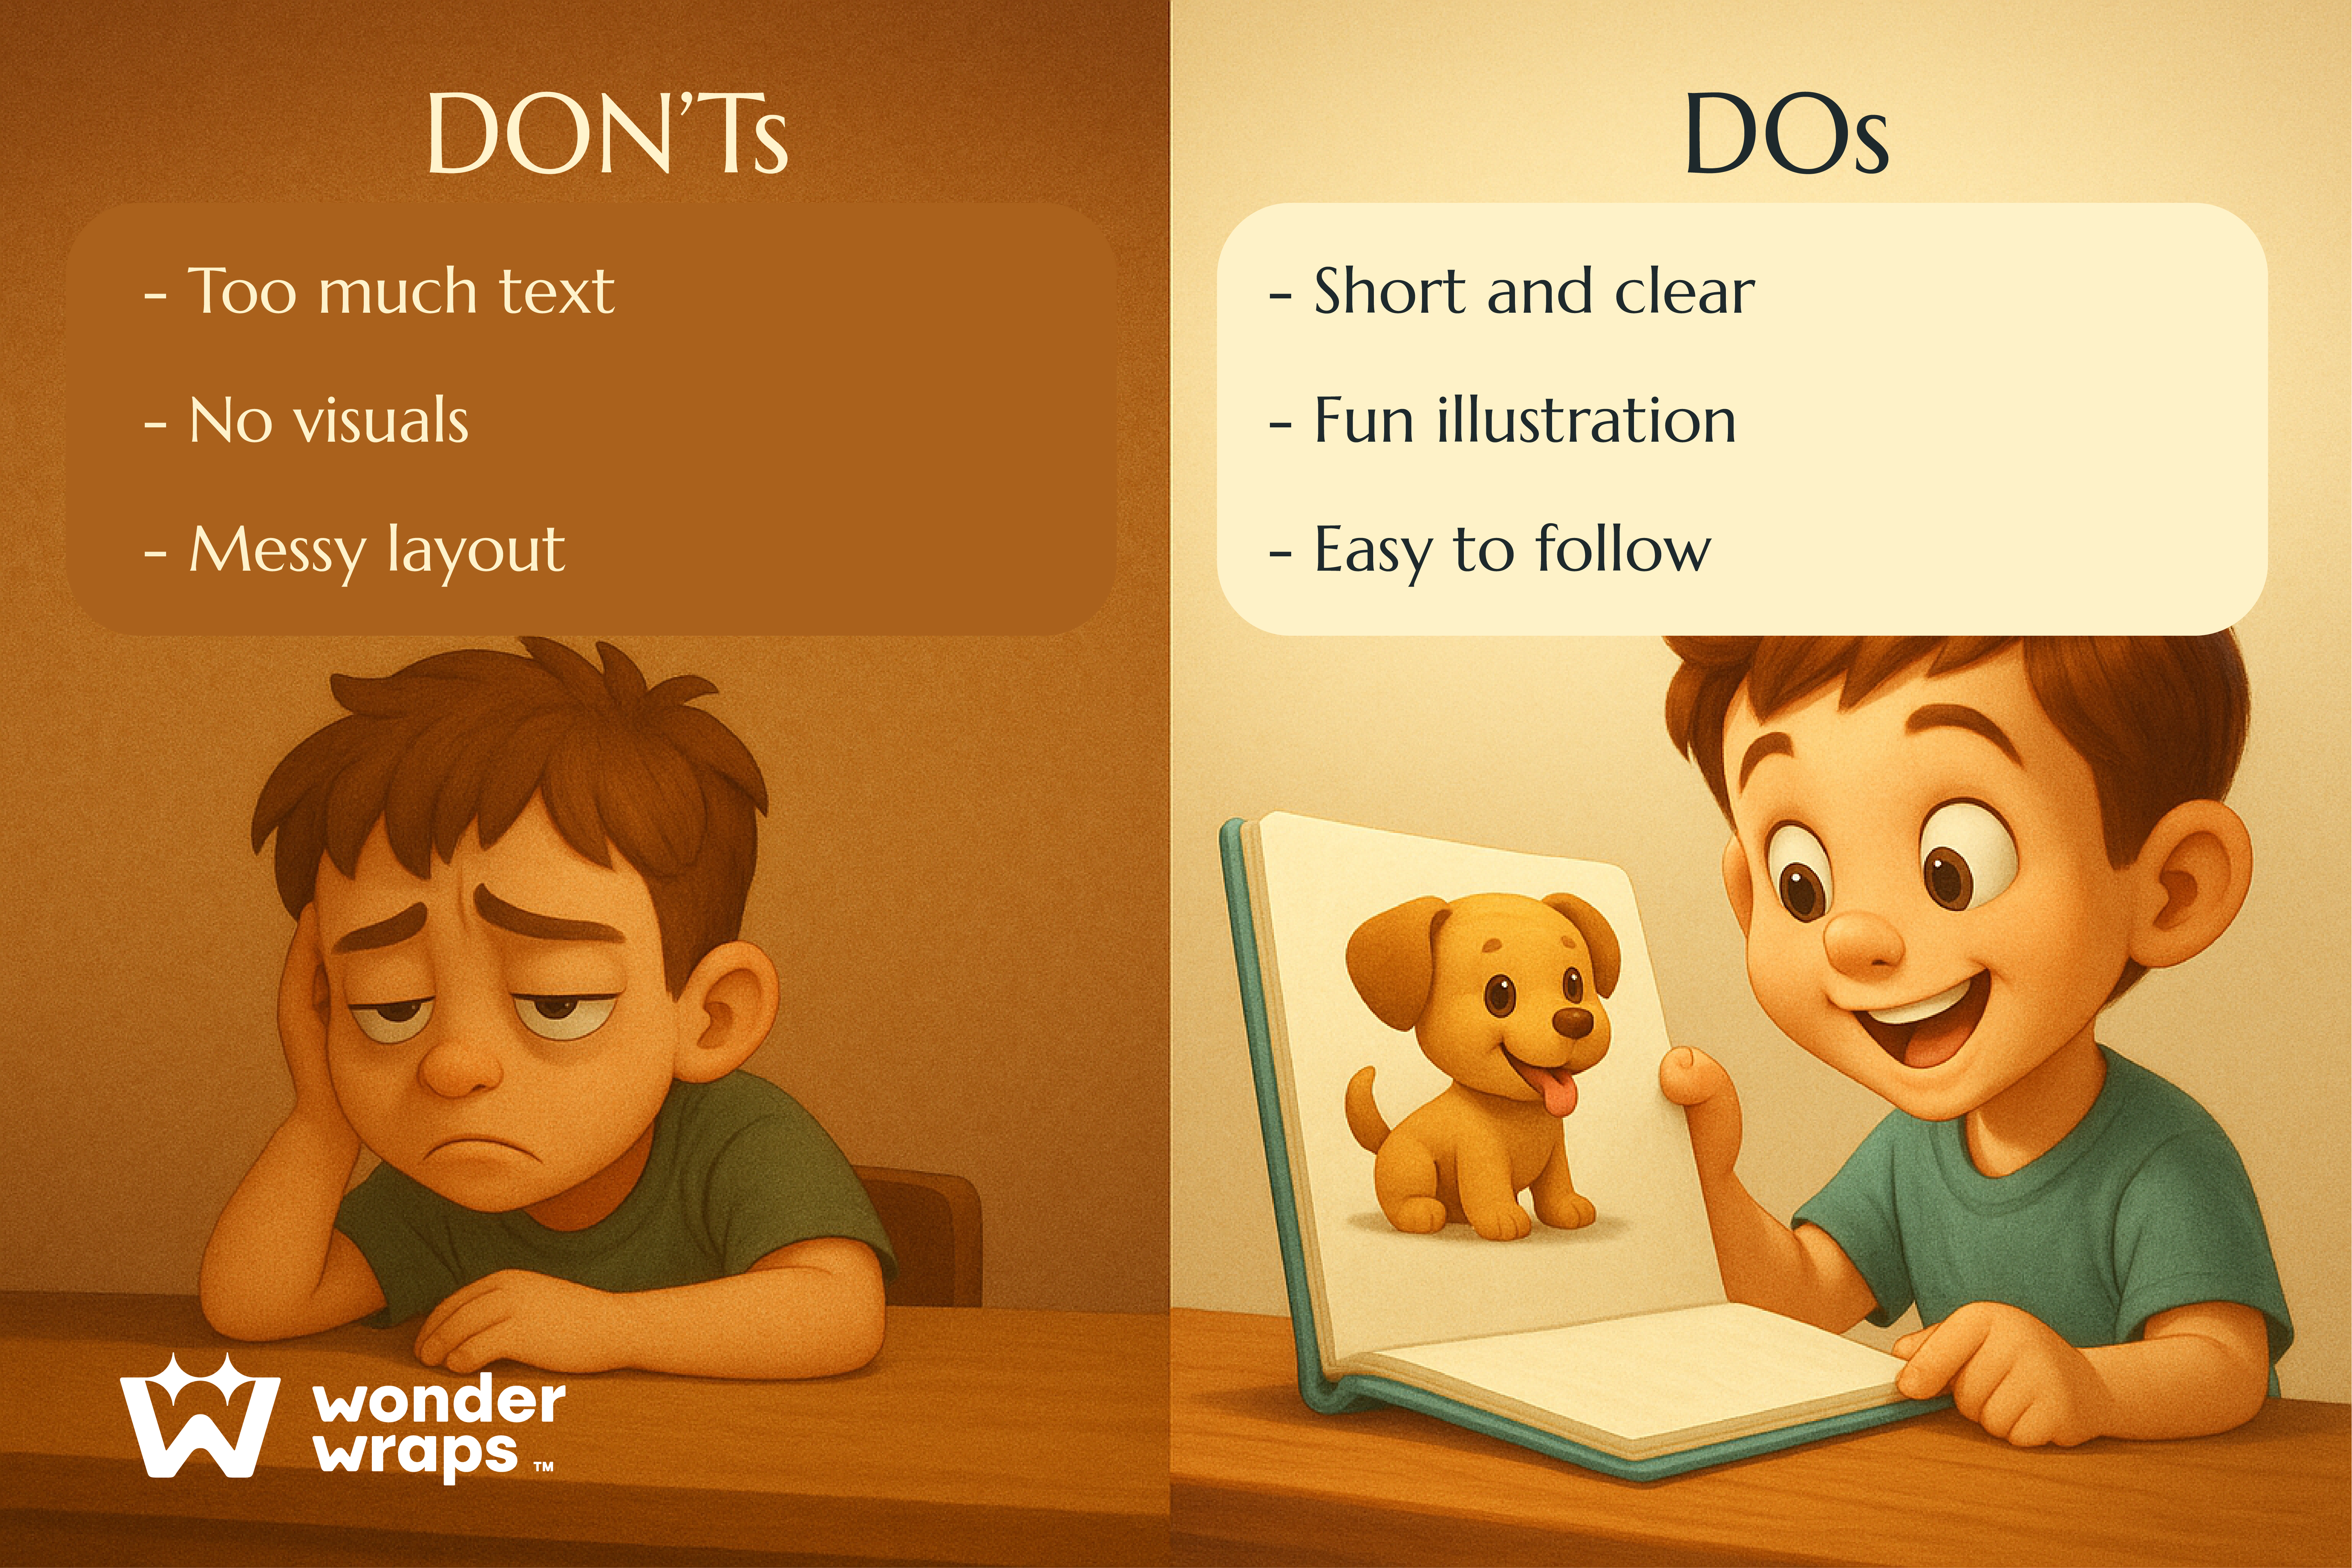
Even when you’re being careful, it’s easy to overlook certain small details that can affect how a child experiences your book. Some of the most common pitfalls include:
- Making the text too long or complex
- It’s best to keep sentences short and age-appropriate so kids can follow along easily.
- Forgetting to include a visual on each page
- Children, especially younger ones, rely on images to understand the story, so make sure every page has something to look at.
- Not considering the child’s attention span.
- Stick to a clear, focused storyline without too many distractions or subplots.
- Using low-quality images or unclear handwriting
- Crisp, bright illustrations and legible text make the book much more enjoyable and easier to read.
- Overloading the page with too much text or clutter
- Leave enough white space so the layout feels calm and readable.
- Skipping feedback or editing
- Read your book aloud and get input—it can reveal what’s confusing or not working.
- Not printing a test copy.
- Review a physical version to catch formatting issues before sharing or gifting it.
How to Share Your Book With Others
What is a book if no one reads it? Without a reader, it’s just words on a page. A story only comes to life when someone opens it and connects with what’s inside. That’s especially true for children’s books as they’re meant to be shared, read aloud, laughed over, and talked about.
Once your book is ready, here are some easy and meaningful ways to share it:
- Read it during storytime at your child’s school, daycare, or local library.
- Post about it in parenting, homeschooling, or educational groups.
- Use print-on-demand services to create quality copies you can give to friends, family, or teachers.
- Include it in your teaching or creative portfolio if you’re an educator, student, or aspiring writer.
- Share a digital version (PDF or eBook) with others by email or through classroom newsletters.
- Offer it as a personalized gift for birthdays, holidays, or baby showers—kids love seeing their names in print.
Conclusion
For children, in particular, literature can serve as a valuable tool for learning and growth. Through books, they can explore their emotions, learn how to solve problems, discover new ideas, and, most importantly, feel less alone.
That’s why creating a book is such a meaningful act. You’re leaving behind something real. Something that might make one child feel seen, understood, or simply smile a little wider before bed. That’s a powerful legacy.
And today, bringing your story to life is easier than ever. With WonderWraps, we take care of the tricky parts like design, illustration, and layout so you can focus on what matters: the child you’re creating it for. In the end, you’ll have a book where your child is the hero. A story made just for them—one they’ll want to read again and again.
Frequently Asked Questions
How much does it cost to make your own children’s book?
The cost depends on factors like page count, binding type, and whether it’s illustrated or personalized. With WonderWraps, a standard 40-page personalized book usually costs between $30–$50.
How many pages should a children’s book be?
Most picture books follow a 32-page format, though personalized books may range from 24 to 40 pages, depending on the story.
How to print a children’s book at home?
You can print it using a home printer on quality paper, then bind it with staples, a folder, or a binding machine for a clean finish.